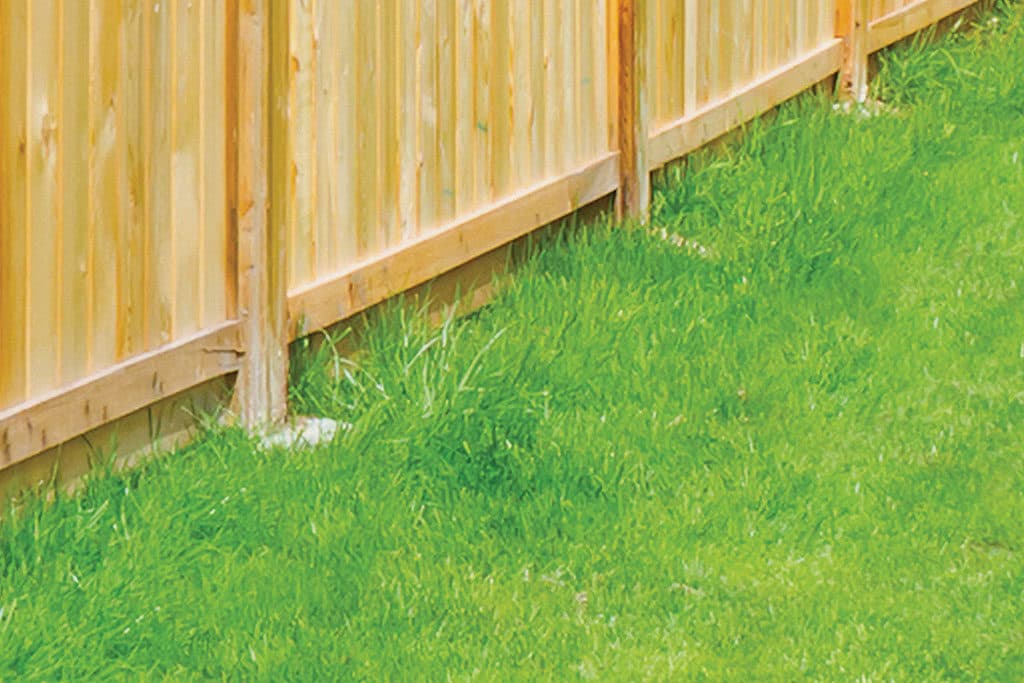
This step-by-step guide will show you how to set posts quickly for your home DIY project.
It’s important to get the basics right so the post base is strong and secure when in place. Keep reading and discover all you need to know to get the job done or scroll to the end to watch the video.
Depending on the requirements of your job, there are two different concretes that you can use – Easy Mix Rapid Set Concrete or Easy Mix Quick Set Concrete.
Rapid Set Concrete is ideal for house jobs like setting pergola and fence posts, whereas Quick Set Concrete is a great choice for fence corners and structural supports where higher compressive strength is required.
What You Will Need
- Easy Mix Rapid Set Concrete
- or Easy Mix Quick Set Concrete
- Spade or long-handled shovel
- Crowbar or post hole auger
- Spirit level or plumb line
- Tape measure
- Bracing and clamps to hold the post steady
Calculate the materials required
Before you start, you need to work out the materials required and the size of the hole for the post.
Hole Size:
Width = Twice the width of the post
Depth = 1/3 of the post height + 100mm minimum for concrete base
Rapid Set Concrete Coverage:
- 1 x 20kg bag = 0.01m3
- 100 x 20kg bags = 1.0m3
One bag fills: 400mm deep hole | 100 x 100 post | 75 x 75mm post
The two methods of using Rapid Set Concrete
Depending on your project requirements, Easy Mix Rapid Set Concrete can be used with two different methods. The dry method which has a fast set time and the wet method which creates a stronger compressive strength.
Both methods are explained below.
Dry Method Instructions:
1. Prepare and wet the hole
Before you begin, you need to dig and prepare the hole.
It should be twice the diameter of the post and one-third of the post depth.
Now thoroughly wet hole and make sure to avoid ‘pooling’ of water at the base.
Add 100mm of Rapid Set Concrete to the base of the hole before placing post.
2. Place post into the hole
Place the post into the hole. If needed, use clamps and timber to brace posts in position, making sure they are level. Alternatively, another person can hold the post in place.
Continue to use a plumb line or level to check that the post is even.
3. Place concrete into the hole
Add the required amount of concrete into the hole around the post, making sure to check the post is level.
Do not mix the concrete.
4. Pour water on top
using a measuring jug, slowly pour the required amount of water on top of the concrete (approximately 2 litres for each 20kg bag). It will gradually flow down into the concrete.
Make sure the post is level the entire time.
5. Tamp the mix
Once the water has been poured on, immediately tamp the mix to make sure the concrete is consolidated and firmly packed.
Note: For best strength and fastest curing, do not touch or move the Rapid Set mixture after placement. Allow curing for a minimum of two hours before continuing to the next construction stage.
Wet Method (best for structural projects)
Follow steps one and two from above before completing the below steps.
3. Mix concrete with water
On a mixing board or wheelbarrow, slowly add approximately 2.5 litres of water to the contents of one 20kg bag. A stiff, drier mix is best.
4. Place mixture into the hole
Place the wet mixture into the hole around the post. Tamp the mix to make sure the concrete is consolidated.
Be mindful of temperature
Warm and/or humid environments will reduce the working time of this product. In adverse hot weather conditions, keep the material cool and use cold or chilled water when mixing. This product should not be used in ambient temperatures below 7 degrees Celsius.