Follow this step-by-step guide to laying pavers for your home DIY project.
No matter how big or small your paving project is, it’s important to get the basics right to ensure it looks great all year round. Keep reading or scroll to the bottom of this post to watch our How To Lay Pavers video.
What you will need
- Road base
- Easy Mix Paver Bedding & Screeding Sand
- Easy Mix Paver Bond
- Wheelbarrow
- Spade
- String line
- Tape measure
- Spirit level
- Rubber mallet
- Long straight edge
- Firm bristle broom
- Hose with mist attachment
- Brick bolster
- Tamping tool or compactor
Calculate the materials required
To work out the materials needed for the job you need the paver area in square metres. Below is a calculation to work out the area.
Square metres = length x width
With the above area, use the product coverage guide below to work out how many bags are required for the job.
Easy Mix Paver Bond Sand | 1 bag per 5-7m²
Easy Mix Paver Bedding & Screeding Sand | 2 bags at 3cm depth per square metre
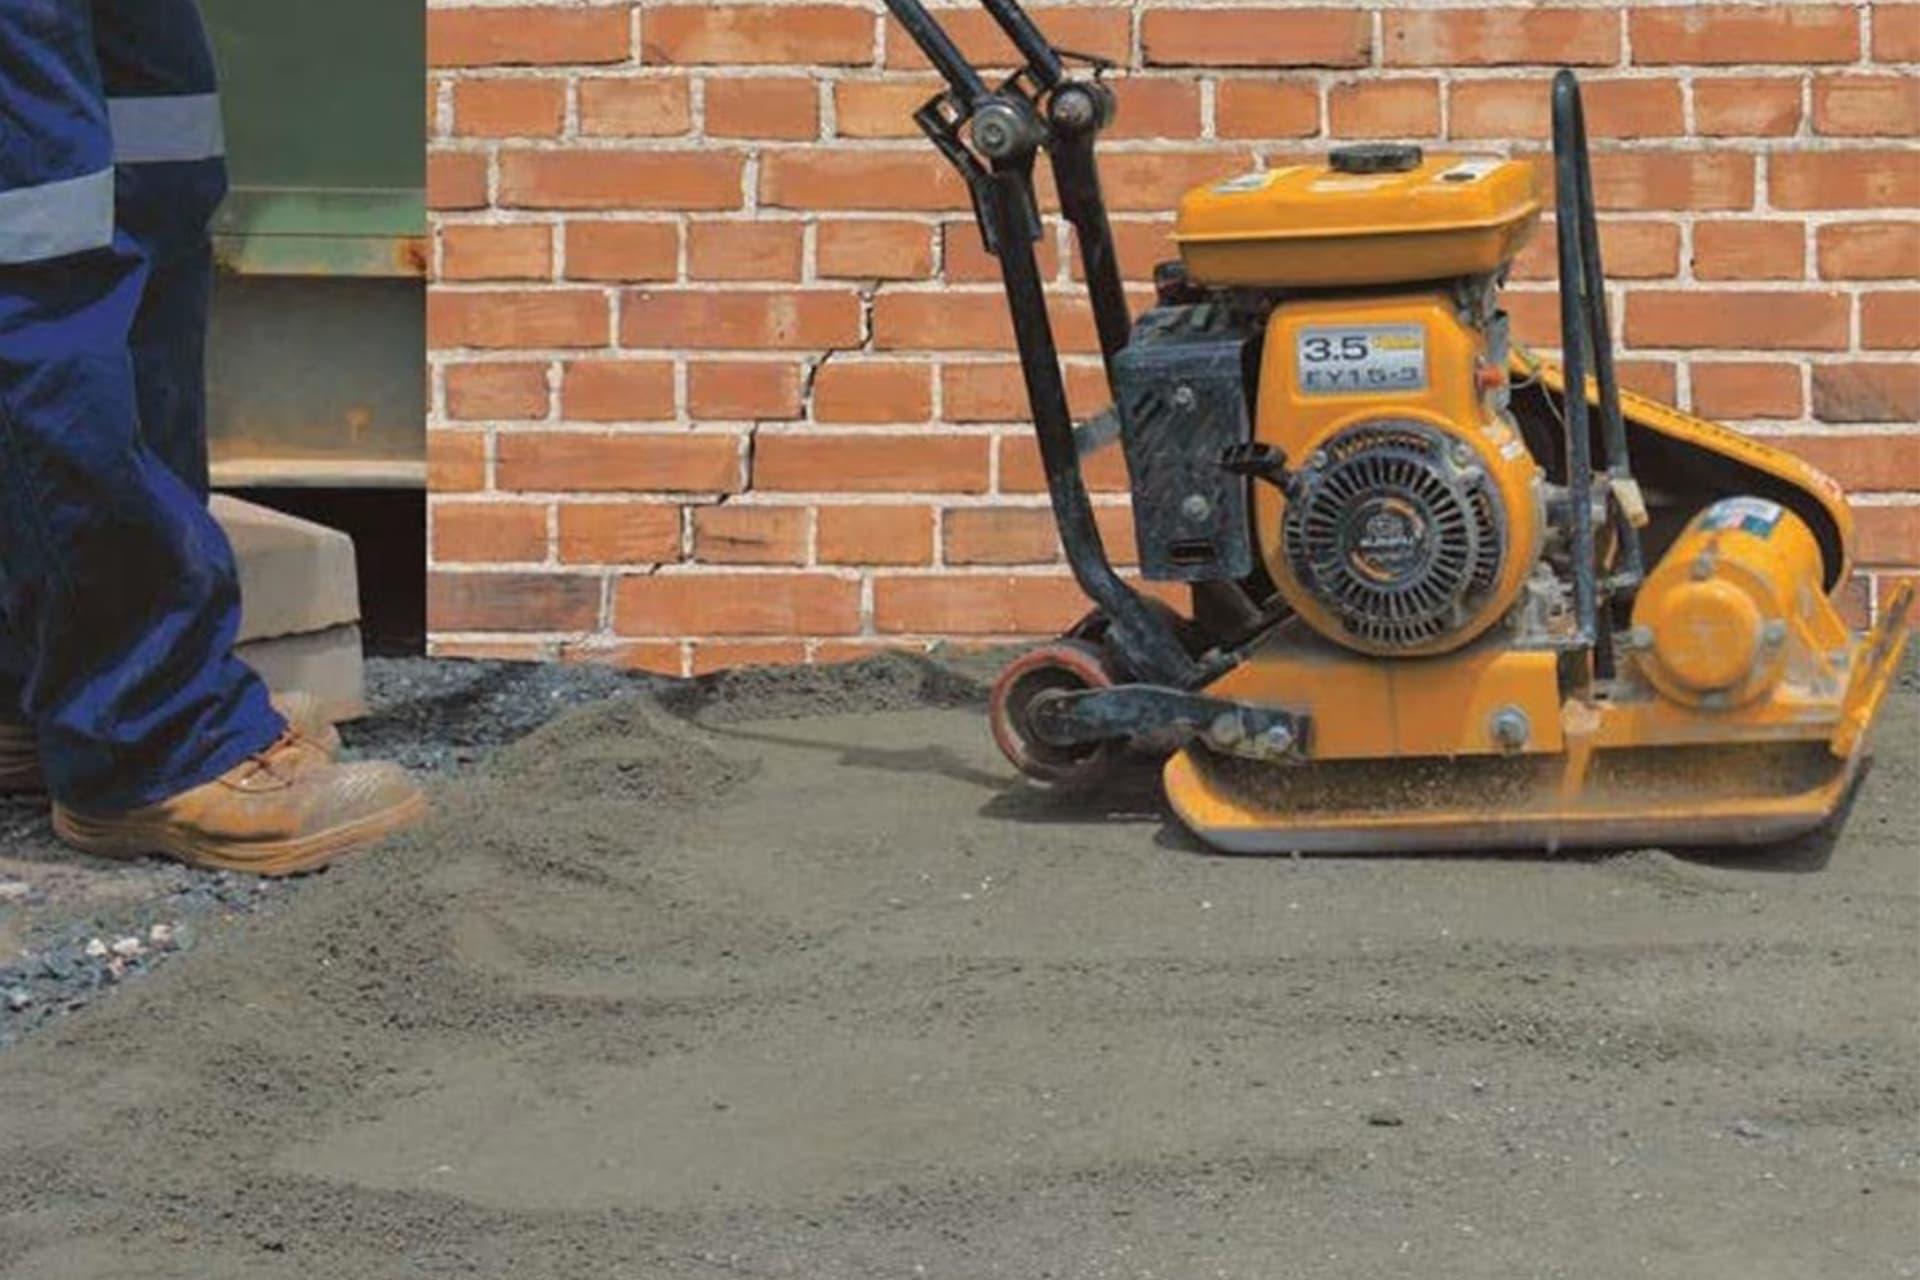
1. Prepare the area
Before you begin laying pavers, you need to prepare the ground area by levelling out any uneven areas and spreading road base.
The road base should be spread at a 10-15cm depth evenly across the ground surface before being compacted to ensure the area has no soft spots and is level. Compacting the base by hand is usually enough for small domestic applications like an outdoor sitting area.
Use the square meterage of the area to work out how much road base is required based.
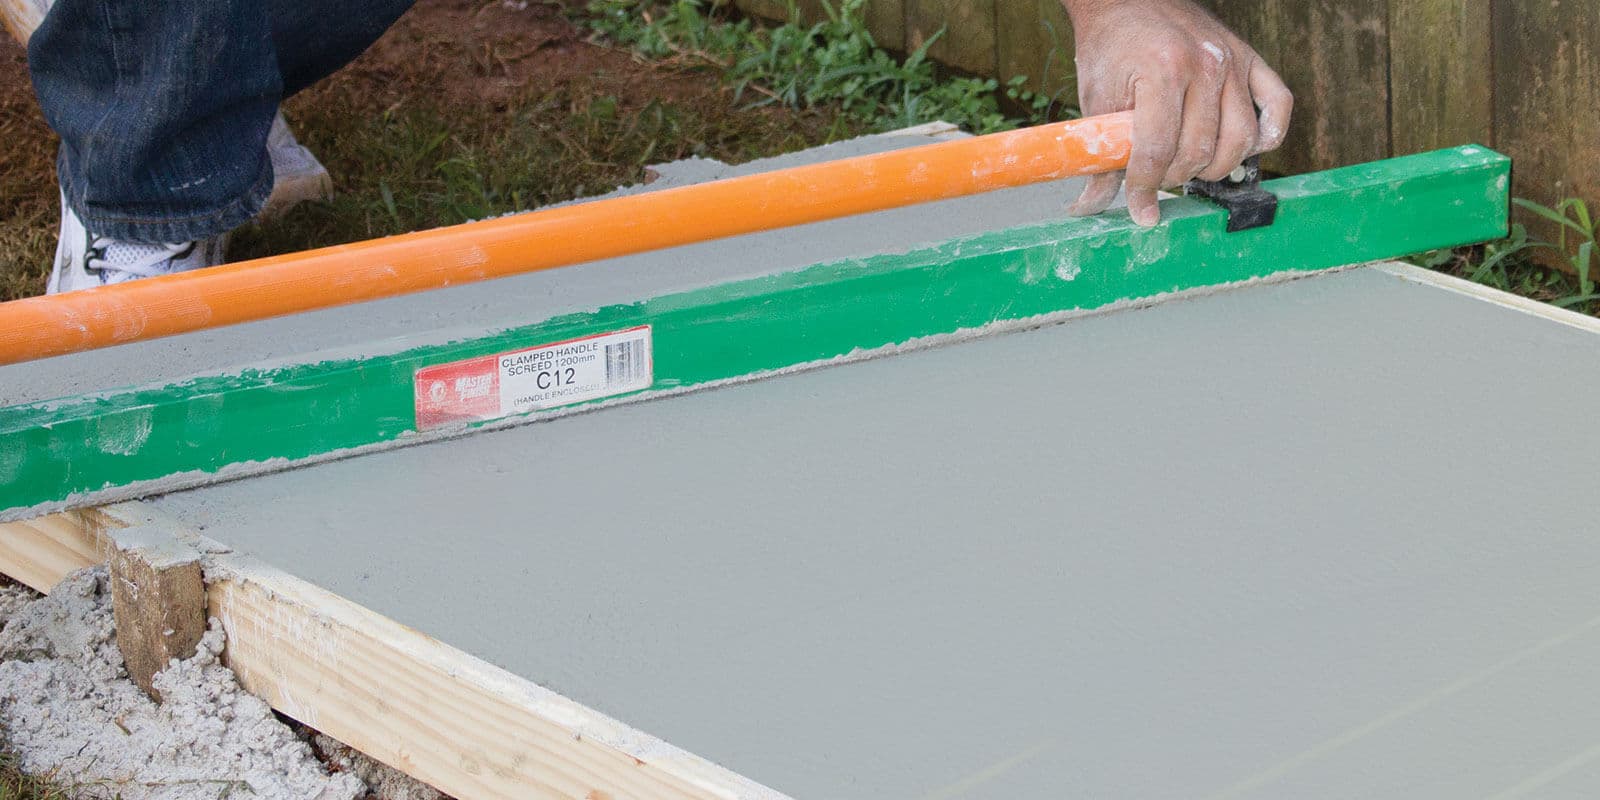
2. Spread Paver Bedding & Screeding Sand
Now spread the paver bedding sand over the road base to a depth of 3cm making sure there is sufficient sand and no empty areas.
Use a straight timber edge to level out the sand surface so it is smooth and flat. It helps to work in a sawing motion.
This creates the base for the pavers. Make sure to check the sand is level and that it has sufficient fall for the water to run off (if required).
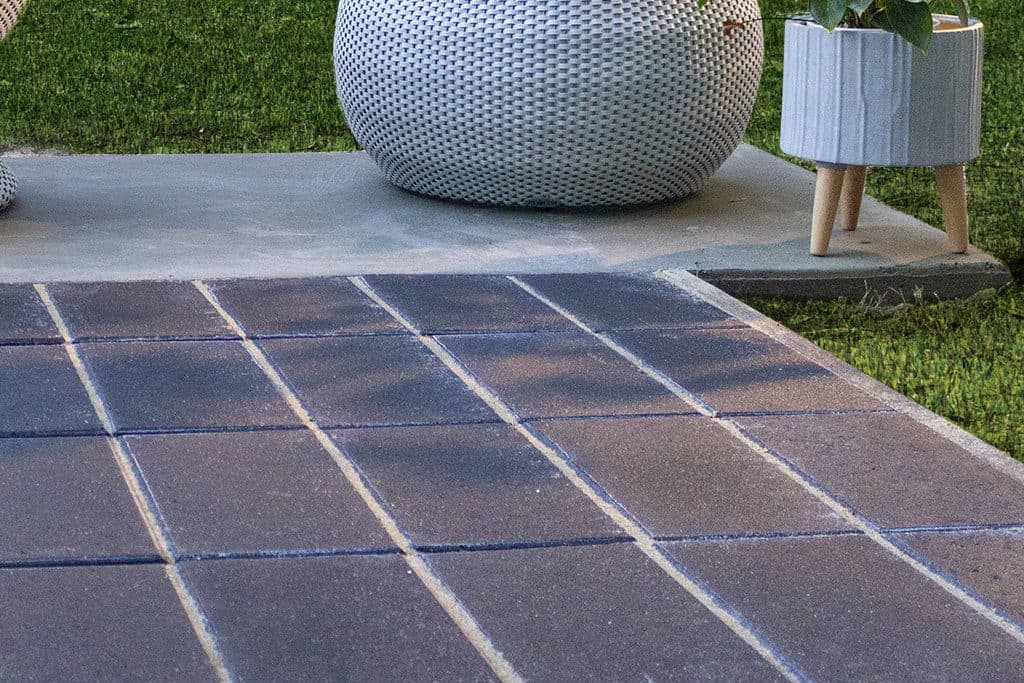
3. Laying pavers
Choose a laying pattern before commencing. Place a string line around the outer edge to help guide you.
Lay the pavers against the longest edge of the entire area.
Begin with whole pavers first, and come back and place cut down pavers along the edges last. Use a bolster to lightly tap around the edges of smaller pavers or brick saw to trim larger pavers down to size.
Note: Make sure you leave an even 3-5mm gap between each paver.
4. Broom Paver Bond Sand into gaps
Ensure pavers are completely dry before pouring Easy Mix Paver Bond sand over a small area of pavers.
Use a broom to thoroughly sweep the sand between the paver gaps.
Note: If pavers are slightly damp, it will activate the bonding agent in Paver Bond sand before it has filled the gaps.
5. Tamp Paver Bond sand into gaps
Place a board over several pavers and hammer until the sand fills all gaps and is level. Repeat this process across all pavers until it is level.
Alternatively, run a vibrating compactor across the pavers to ensure the sand completely fills all gaps and is level with the top.
Once complete, broom away any excess sand from the surface of pavers.
6. Apply water to activate Paver Bond sand
Apply a fine mist of water using a pump pack or hose on mist setting. Use enough water to fully seep into the joints but avoid applying excessive water or water pressure – as it will wash away the sand.
Avoid walking on your pavers until the Easy Mix Paver Bond is dry and firm. 24 hours is sufficient provided there is no rain or moisture in that time.